10 diy halloween decorations you need for budget-friendly spooky decor
Introduction
Transforming your home for the autumn season is simple when you rely on creative diy halloween decorations that fit any household budget. Modern home decorators can easily upgrade their living spaces by turning ordinary household items and affordable craft supplies into charming holiday displays.
Making handmade holiday decor using items found around the house or picked up affordably adds a personal touch to your seasonal setup. This guide previews ten creative craft ideas designed to give your space budget friendly spooky decor without requiring a professional design background or expensive store-bought props.
Illuminating Floating Candles From Toilet Paper Rolls
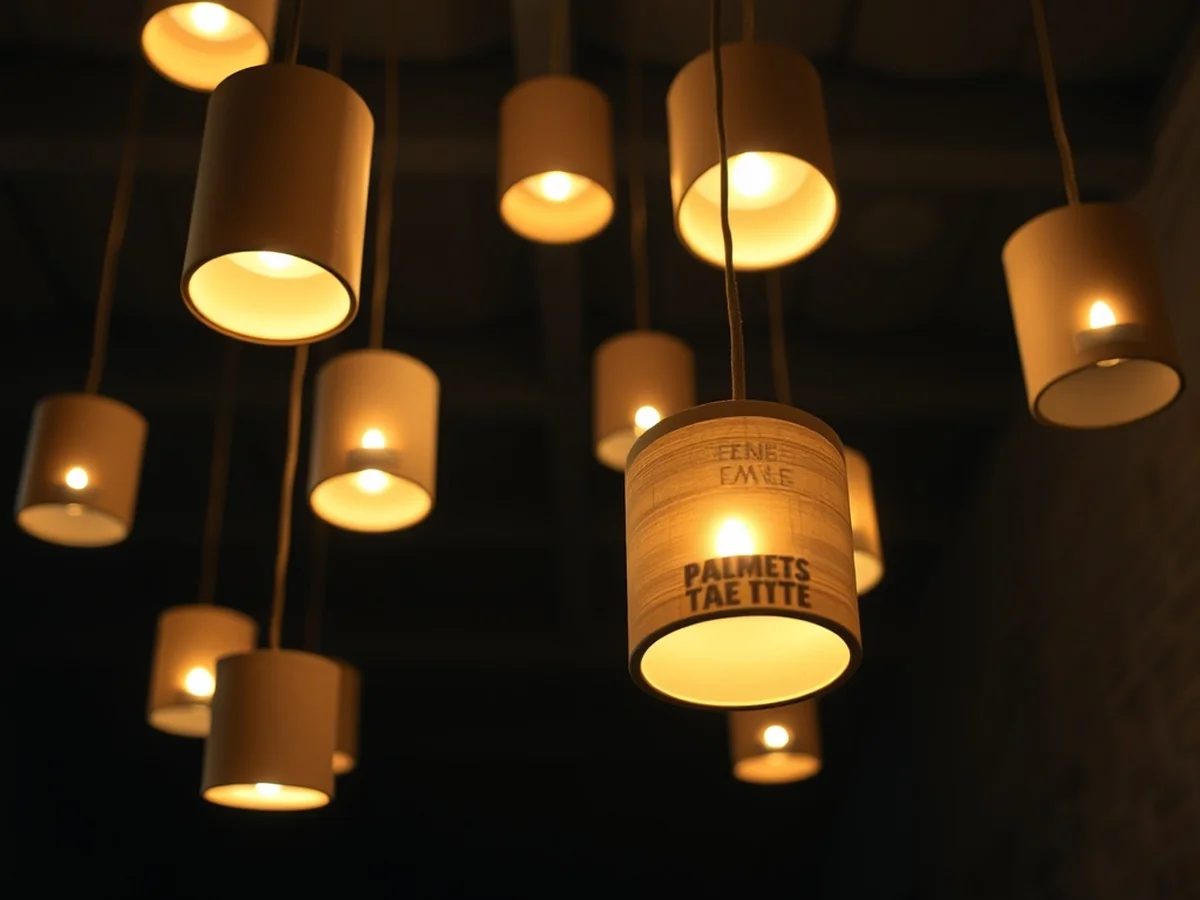
Floating candles can be made using toilet paper rolls, hot glue, and LED tea lights. These lightweight crafts serve as budget friendly spooky decor that transforms any room into a magical hall without any open flame hazards. Finding creative and DIY Halloween decorations easy to assemble can completely change your seasonal aesthetic without requiring a large shopping trip to hobby lobby or craft superstores.
When planning your seasonal layout, homemade lighting pieces add a dramatic focal point. Why choose this specific project over store bought alternatives? Cardboard cylinders and basic adhesives cost almost nothing, allowing you to scale your display across an entire ceiling for maximum impact.
Follow these practical steps to build your own glowing fixtures:
- Collect empty toilet paper rolls and prepare your hot glue gun alongside battery operated LED tea lights.
- Apply melted adhesive down the top edges of each cylinder to mimic melting wax drips.
- Paint the hardened glue and cardboard surface using acrylic colors that match your interior theme.
- Secure the small lighting elements snugly inside the top opening of each painted tube.
- Attach clear fishing line securely to hang the finished cylinders from the ceiling at varying heights.
Avoiding common mistakes ensures your display stays secure throughout the season. Many crafters apply too much pressure when inserting the lights, which can crush the cardboard base. Make sure your adhesive drips have cooled completely before painting, and test the weight balance before hanging them overhead with fishing line.
DIY Bloody Handprint Mirror Clings
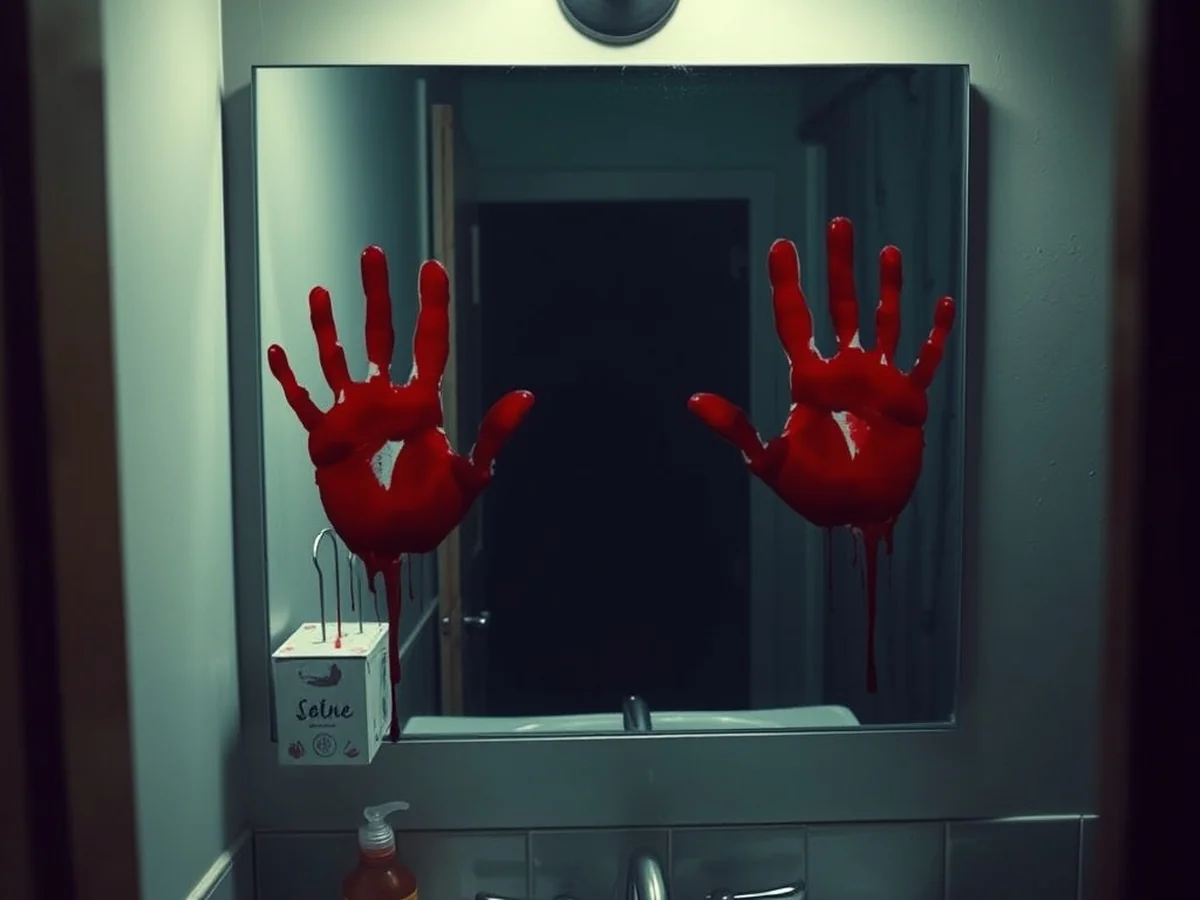
Transforming a home powder room into a suspenseful movie set requires simple household items and clever staging that relies on homemade red window paint or washable craft mediums. This immersive approach turns ordinary bathroom mirrors into chilling displays that shock guests the moment they step inside, proving that diy halloween decorations do not need to cost a fortune. Achieving a dramatic evening impact involves pairing these glossy red handprints with dark paper shadow silhouettes taped directly against the glass.
Crafters can easily manage this project while keeping expenses strictly under control by utilizing basic supplies found around the house or at local craft retailers. Keeping track of the effort level and total investment helps maintain a budget friendly spooky decor theme throughout the entire home.
- Create washable fake blood using a mixture of washable glue and red food coloring to protect glass surfaces.
- Apply the mixture to hands and press directly onto the mirror surface, letting it dry completely before peeling.
- Cut out menacing shadow silhouettes from black construction paper to frame the edges of the mirror.
- Install low-wattage colored bulbs in the bathroom vanity fixtures to cast eerie shadows across the room.
- Rate this project as a beginner difficulty level requiring less than thirty minutes of active setup time.
- Estimate the total material cost at under five dollars when using leftover craft supplies from previous projects.
Upcycling Junk Drawer Pumpkins With Unique Textures
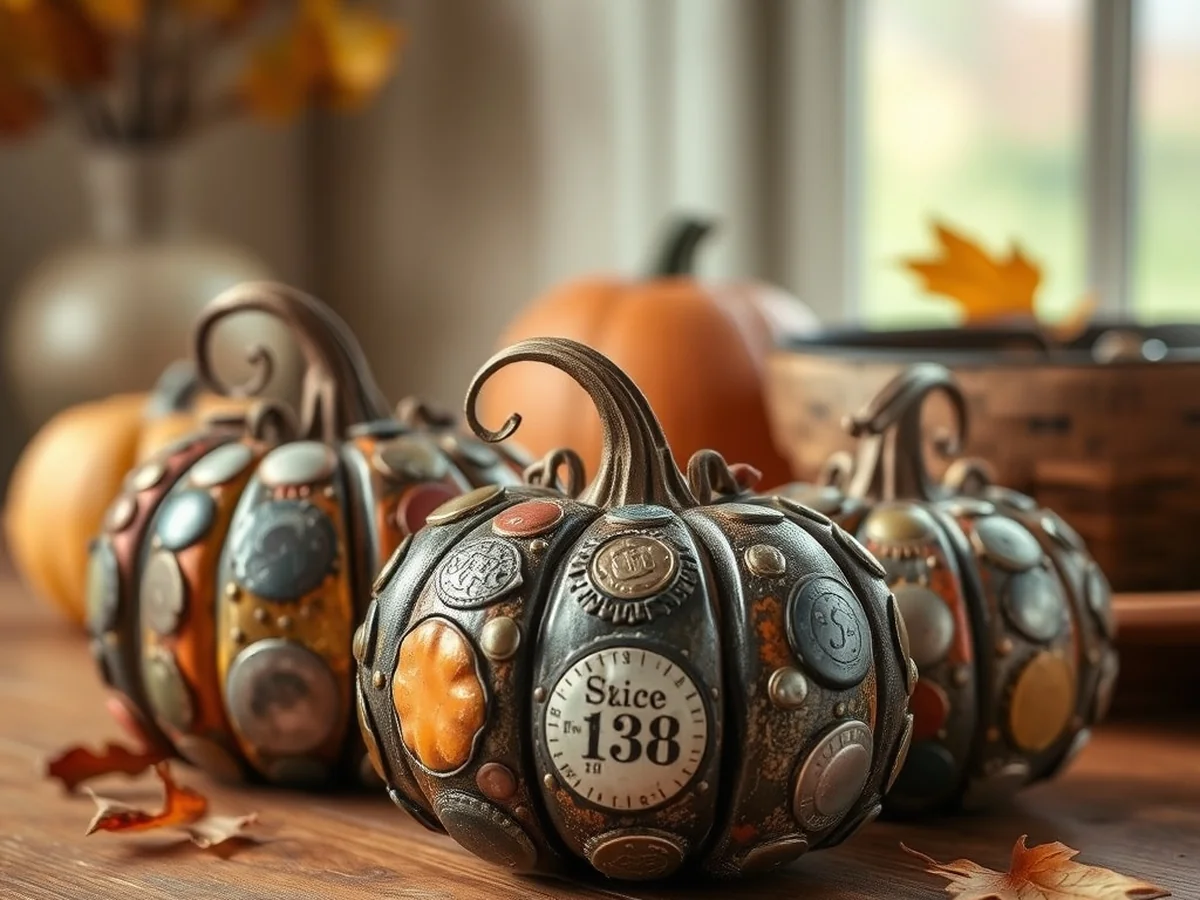
Quirky tabletop gourds start with random household objects from the catch-all drawer, serving as the unusual core shapes for handmade seasonal crafts. Crafting affordable and eerie seasonal ornaments becomes remarkably simple when you turn forgotten trinkets into textured autumn accents instead of throwing them away. By repurposing items you already own, you save money while building custom pieces that bring personality to your seasonal indoor displays.
The secret to convincing junk drawer pumpkins lies in contrasting materials and secure wrapping. Here are the practical steps to build your custom textured gourds:
- Gather small plastic toys, empty pill bottles, or bottle caps from your catch-all drawer to form the core shapes of your pumpkins.
- Secure the loose ends of your wrapping material with a dab of hot glue to keep everything anchored tightly to the slippery plastic base.
- Wrap the odd shapes securely in leftover twine, yarn, or fabric scraps until the base is completely hidden from view.
- Mix smooth and rough textures by combining chunky yarn with delicate twine on different sections of the craft to mimic natural gourd ridges.
- Pair your finished handmade pieces with items sourced from Hobby Lobby for added visual depth and polish when styling your final tablescape.
- Arrange the completed tabletop accents on a mantel or a decorative tray to complete your seasonal indoor display.
Makers often run into a few common pitfalls when attempting this project. A frequent mistake is skipping the initial glue anchor, which causes the yarn or twine to slip around the smooth plastic core as you wrap. Another misstep is wrapping the material too loosely, leaving gaps where the shiny plastic toy or bottle cap peeks through. Take your time wrapping tightly, and use a hot glue gun at regular intervals to lock your fibers in place. If you are looking for more ways to transform everyday household items into creative projects, you might also enjoy exploring diy wall art ideas that look handmade for your home.
Assembling Ghost Glow Balloons For Porch Displays
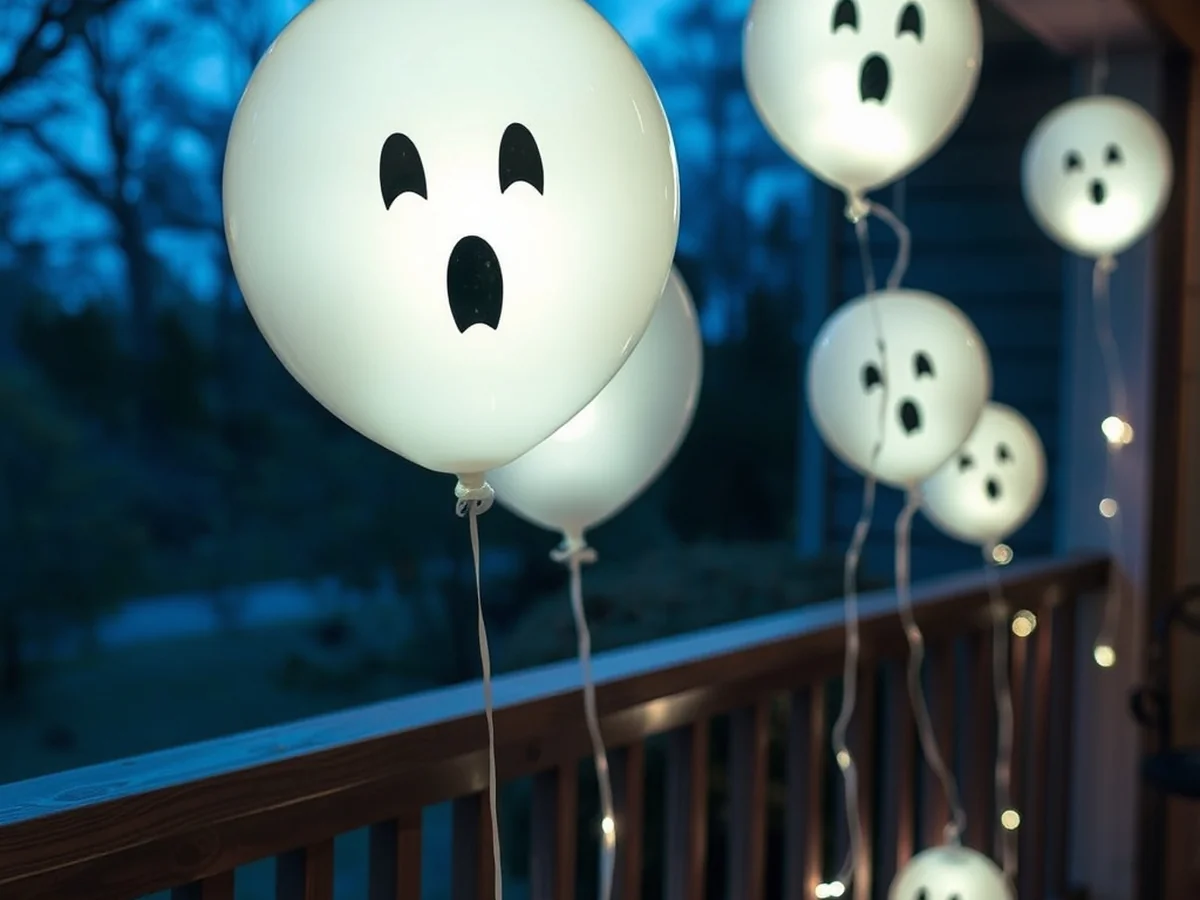
Ghost glow balloons bring an ethereal nighttime effect to homemade seasonal displays with just a few basic crafting supplies. Transforming your entryway into a welcoming yet spooky destination requires creative project planning, especially when you want unique handmade items that impress visiting trick-or-treaters. When designing affordable and eerie decorations for your front steps, illuminated floating elements deliver high visual impact without straining your wallet. You can easily set up these floating phantoms for DIY Halloween decorations outdoor by following a few simple preparation steps before arranging them on your front porch.
Creating these glowing specters starts with gathering standard white latex balloons, waterproof permanent markers, small glow sticks, and sturdy hanging line. Drawing faces before inflation ensures your lines do not warp or tear the rubber material once filled. One common mistake crafters make is inflating balloons too quickly after inserting activation sticks, which can puncture the surface. Always test your illumination source first. As noted by Princeton University Press, floating candles can be made using toilet paper rolls, hot glue, and LED tea lights, and you can apply a similar handmade mindset to ensure your glowing balloon setup remains sturdy and weather resistant throughout the autumn season.
- Draw friendly or eerie faces on plain white latex balloons using a permanent marker so you can customize each floating specter.
- Insert small glow sticks inside before inflating to create an ethereal nighttime effect that shines brightly after sunset.
- Secure your finished glowing creations tightly with sturdy string or heavy-duty fishing line to keep them anchored against autumn wind.
- Hang your illuminated spheres under a covered porch area or protected overhang to shield them from light rain showers during evening gatherings.
- Group multiple glowing balloons together at varying heights to maximize visual impact and create a memorable entryway for visiting trick-or-treaters.
To achieve a professional porch presentation, avoid hanging every balloon at the exact same eye level. Varying the suspension heights creates a more dynamic floating illusion that catches the eye from the street. Taking time to anchor your display properly prevents tangling during sudden October gusts. For additional inspiration on seasonal styling, you can explore creative home accents through resources like our blog to find more approachable ways to elevate your living spaces year round.
Constructing Paper Bats And Wall Silhouettes

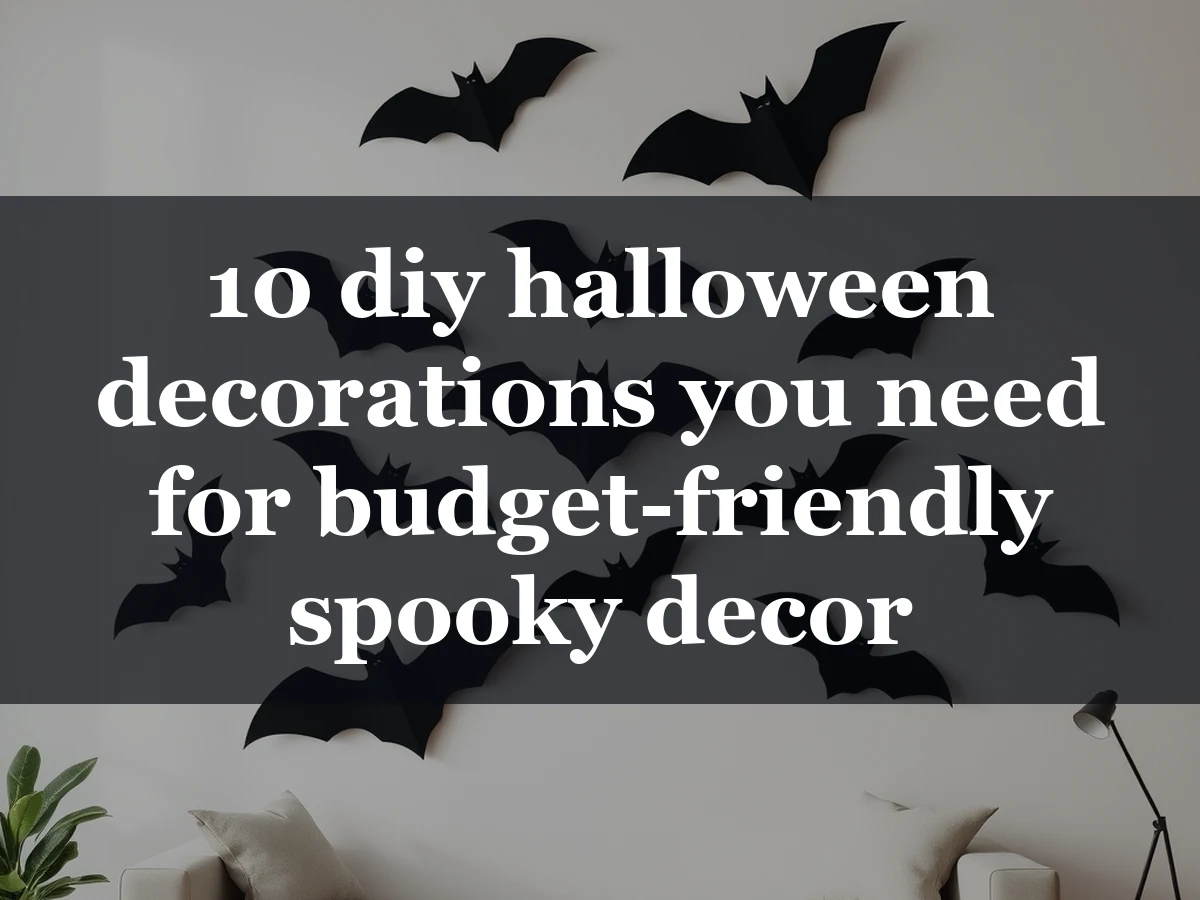
Transforming blank walls into striking seasonal displays is simple when you rely on affordable, eerie details made from basic craft supplies. Crafting paper silhouettes brings instant holiday charm to your living spaces without requiring expensive store bought items. When planning your layout, drawing inspiration from trending Pinterest aesthetics helps establish clean, modern holiday focal points throughout your home without cluttering your space. These easy DIY Halloween decorations paper projects allow you to customize sizes and quantities to fit any entryway, staircase, or living room accent wall.
- Trace your favorite bat template directly onto black construction paper to ensure uniform shapes and clean edges.
- Cut out several batches of silhouettes in varying sizes to add depth and realistic movement to your final display.
- Arrange the finished paper bats along a staircase or entryway wall for maximum visual impact that draws the eye upward.
- Bend the wings slightly upward before mounting to create a realistic three dimensional flying effect rather than a flat silhouette.
- Secure each silhouette safely using removable adhesive dots that protect your paint finish and prevent peeling when the season ends.
One common mistake during setup is keeping every bat the exact same size, which flattens the visual depth of the swarm. Varying small and large cutouts creates a dynamic sense of motion across the wall surface. Another frequent pitfall is pressing the paper flat against the paint. Taking a few extra seconds to crease the center fold of each wing introduces necessary shadow play and realism. For crafters looking to expand their seasonal handmade gallery beyond living spaces, exploring other creative projects like diy wall art ideas that look handmade can spark even more ways to personalize your home year round.
Building A Frankenstein Pedestal Display Stand

A monster-themed display riser transforms thrifted materials into a sturdy platform for seasonal accents. When planning seasonal updates or working on DIY halloween decorations easy enough for a weekend afternoon, creating a custom pedestal adds instant height and character to any tablescape. You can quickly craft this spooky stand using items you already have around the house, making it a wonderful addition to projects that keep holiday decorating costs low and creative.
The primary reason to build your own display riser is control over dimensions and aesthetic appeal. Store-bought options rarely match specific color palettes or size requirements for awkward mantel spaces. By starting with a solid base like spare wooden blocks or sturdy cardboard boxes, you establish a reliable foundation that holds heavier ceramic pumpkins or glass jars without buckling.
- Transform thrifted wooden blocks or spare cardboard boxes into a sturdy display riser by securing loose edges with strong adhesive.
- Paint the structure using green acrylic paint to achieve a classic monster skin tone, applying two thin coats for an even, opaque finish.
- Add authentic stitched details across the surface using a permanent black marker or dark craft paint to mimic the iconic character look.
- Use the finished pedestal to elevate smaller seasonal vignettes on a mantel or entryway table, creating varied visual heights.
- Pair your homemade riser with other handmade holiday accents, such as floating candles made using toilet paper rolls, hot glue, and LED tea lights, to achieve a cohesive room design.
A common mistake during construction is rushing the painting phase. Skipping the drying time between layers can cause cardboard to warp or acrylic paint to crack. Allow each coat to dry completely before drawing stitches or sealing the surface. For those exploring other creative avenues, standard methods often note that head in a jar pranks typically require photo editing software to print a distorted face for water displacement, showing how easily household items blend with printed graphics for maximum eerie impact.
Creating Head In A Jar Pranks With Water Displacement
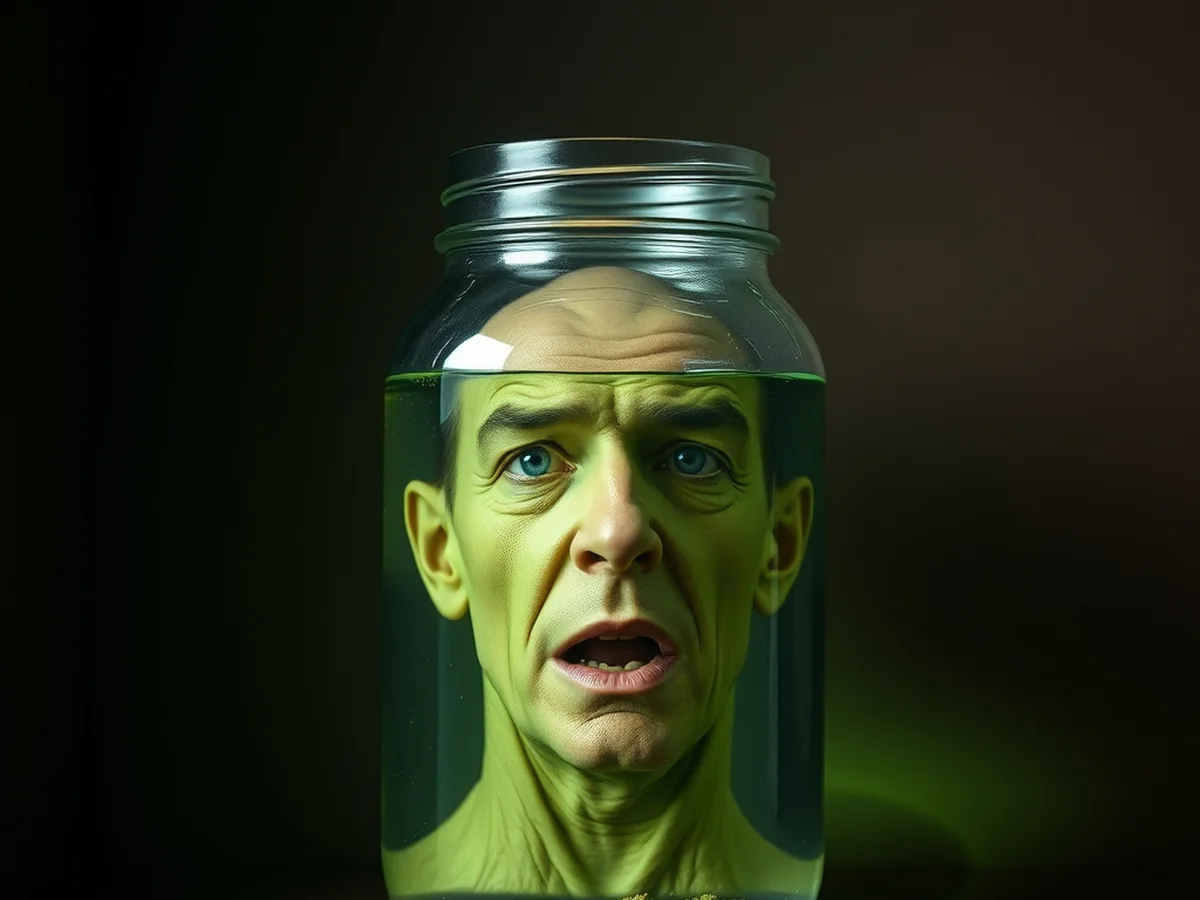
When searching for inexpensive seasonal accessories that genuinely surprise guests, classic optical illusions offer a brilliant visual impact without requiring a large investment. Head in a jar pranks typically require photo editing software to print a distorted face for water displacement. This clever trick plays on how liquid magnifies and bends light, turning a flat sheet of paper into a startlingly lifelike three-dimensional specimen floating inside glass vessels.
Crafting this eerie seasonal display involves a few precise steps to ensure the final illusion looks convincing:
- Select a clear portrait photo and use digital editing tools to stretch the width of the face, compensating for the natural distortion caused by curved glass and water.
- Print the edited image on heavy cardstock or photo paper, then laminate the entire sheet completely to protect the ink from dissolving in the liquid.
- Roll the laminated photograph into a cylinder and slide it snugly inside clean mason jars, pressing the edges outward against the glass.
- Fill the jar to the brim with water so the refraction expands the facial features and creates an unsettling floating effect.
- Mix in a few drops of yellow or green food coloring to mimic aged laboratory preservative fluid, and attach a faded scientific label to the outside for authenticity.
A common mistake during assembly is failing to laminate the photograph thoroughly, which allows water to seep into the paper fibers and ruin the print within hours. Another frequent issue is making the face too small for the container, reducing the magnification effect. Taking time to measure the interior circumference of your glass vessel before printing ensures the facial features press closely against the walls, maximizing the eerie optical illusion for your indoor seasonal setup.
Making Mason Jar Mummy Luminaries

Crafting charming seasonal accents transforms ordinary glass containers into festive table centerpieces using basic household items. When planning inexpensive homemade accents for your autumn celebration, mason jars offer a versatile base for homemade projects. You can easily build these DIY Halloween decorations easy projects in just a few minutes with standard supplies sourced from local craft stores like Hobby Lobby or items you already have around the house.
Creating glowing glass creatures requires a careful approach to avoid common mistakes, such as using too much hot glue or wrapping the gauze too tightly, which blocks the light. Follow these practical steps to assemble your glowing decor:
- Start with clean, dry mason jars and wrap them in strips of cheesecloth or gauze, securing the ends neatly with a hot glue gun so the fabric stays in place.
- Attach googly eyes to the front of the jar near the top of the fabric wrap to complete the friendly creature look.
- Place battery-operated LED tea lights inside the glass rather than open flames to cast a safe, warm, and textured glow across your tabletops without risking fabric ignition.
- Arrange several jars of varying heights together on a wooden tray or mantelpiece for a more dynamic holiday display that catches the eye.
- Store the finished projects in a dry box padded with tissue paper so you can safely reuse them next October.
Beyond traditional jar crafts, creative homeowners often expand their displays by incorporating other inventive items. For instance, floating candles can be made using toilet paper rolls, hot glue, and LED tea lights, providing an inexpensive way to add vertical drama to your seasonal setup. For an extra eerie illusion, head in a jar pranks typically require photo editing software to print a distorted face for water displacement inside a sealed glass container. Grouping these handcrafted accents together gives your living spaces an inviting and personalized autumn atmosphere.
Designing Witch Legs For Outdoor Planters

Making upside-down witch legs involves stuffing striped fabric tubes or old tights with polyfill and attaching pointed craft shoes before securing them into front yard shrubbery or large patio planters. This craft rates as an easy project that brings instant whimsy to your seasonal front yard setup, but outdoor displays require a bit of extra preparation to survive autumn weather. If rain is in the forecast, you will want to protect your fabric pieces from moisture so the stuffing stays dry and the colors do not bleed.
- Stuff striped fabric tubes or old tights tightly with polyfill until they hold a firm, rounded shape resembling legs.
- Attach lightweight pointed craft shoes to the bottom of each stuffed tube using strong adhesive or heavy-duty thread.
- Insert a sturdy wooden dowel or garden stake up into the center of each stuffed leg to provide structural support.
- Push the exposed end of the stake deep into your front yard shrubbery or large patio planters so the legs stay upright.
- Spray the fabric components with a clear weatherproofing fabric protector before placing them outside to keep outdoor fabrics dry during rainstorms.
Frequently Asked Questions About Homemade Halloween Crafts
What are some easy DIY Halloween decorations I can make using basic household supplies?
You can create charming floating candles using empty toilet paper rolls, a hot glue gun, and safe LED tea lights. Another simple option involves cutting simple bat silhouettes out of black construction paper and taping them to your living room walls.
How can I source affordable craft materials without overspending?
Check your local discount stores and dollar bins for blank mason jars, spare yarn, and inexpensive felt sheets before visiting big-box craft chains. Repurposing items from your recycling bin, such as cardboard boxes and plastic bottles, keeps your crafting budget remarkably low.
What is the best way to store delicate paper and cardboard items for future years?
Flat storage is essential for preserving delicate paper bat silhouettes and cardboard cutouts between holiday seasons. Place them between sheets of acid-free tissue paper inside a rigid plastic bin to prevent bending, moisture damage, and fading.
Are homemade Halloween crafts safe to use around pets and children?
Most homemade decor items are very safe, especially when you substitute traditional open flames with battery-operated LED lights. Always check that small embellishments like googly eyes or glitter are securely attached so curious toddlers or pets cannot swallow them.
How do I keep outdoor cardboard decorations from getting ruined by rain?
Apply a generous coat of clear exterior polyurethane spray or cover your cardboard pieces with clear contact paper before placing them outside. This protective barrier stops autumn moisture from soaking into the fibers and warping your hard work.
Conclusion
Embracing your creative side lets you transform everyday household items into stunning seasonal displays without overspending. Crafting your own holiday styling proves that achieving inexpensive spooky decor does not require an expensive store-bought budget. Grab your crafting supplies today and start assembling your favorite diy halloween decorations to give your home a personalized touch.
Sources: popgoesthepage.princeton.edu
You might also like: Canless Ultra-Thin Wafer LEDs vs Traditional Can Housings: Heat &